How to set up A/B tests in Nuxt
Dec 05, 2023
A/B tests are crucial for optimizing your Nuxt.js app. PostHog's experimentation tool simplifies this process. This tutorial will show you how to set up and run an A/B test in Nuxt using PostHog.
We'll cover creating a basic Nuxt app, integrating PostHog, and setting up the A/B test.
Creating a Nuxt app
Already have a Nuxt app? Skip to adding PostHog and setting up the A/B test.
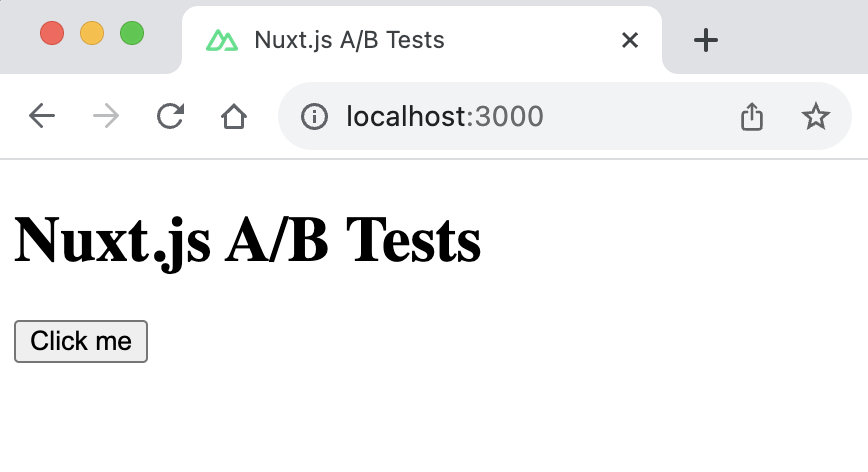
For this tutorial, we create a basic Nuxt 3 app with a simple button to run our test on.
First, ensure Node.js is installed (version 18.0.0 or newer). Then create a Nuxt.js app:
Name it whatever you like (we call ours nuxt-ab-test), select npm as the package manager, and use the defaults for the remaining options.
Replace the code in app.vue with a simple heading and button:
Run npm run dev to start your app.

Adding PostHog
Next we add PostHog (if you don't have a PostHog instance, you can sign up for free). To do this, first install posthog-js .
Then, add your PostHog API key and host to your nuxt.config.ts file. You can find your project API key in your PostHog project settings
Create a new plugin by first creating a new folder called plugins and then a new file posthog.client.js with the following code:
Once you’ve done this, reload your app and click the button a few times. You should see events appearing in the PostHog events explorer.

Creating a custom event for our A/B test goal
The first part of setting up our A/B test in PostHog is setting up the goal. We'll use the number of clicks on the button as our goal.
To measure this, we capture a custom event home_button_clicked when the button is clicked. To do this, update the code in app.vue to the following:
Creating an A/B test in PostHog
The next step is to set up an A/B test (we call them experiments in PostHog).
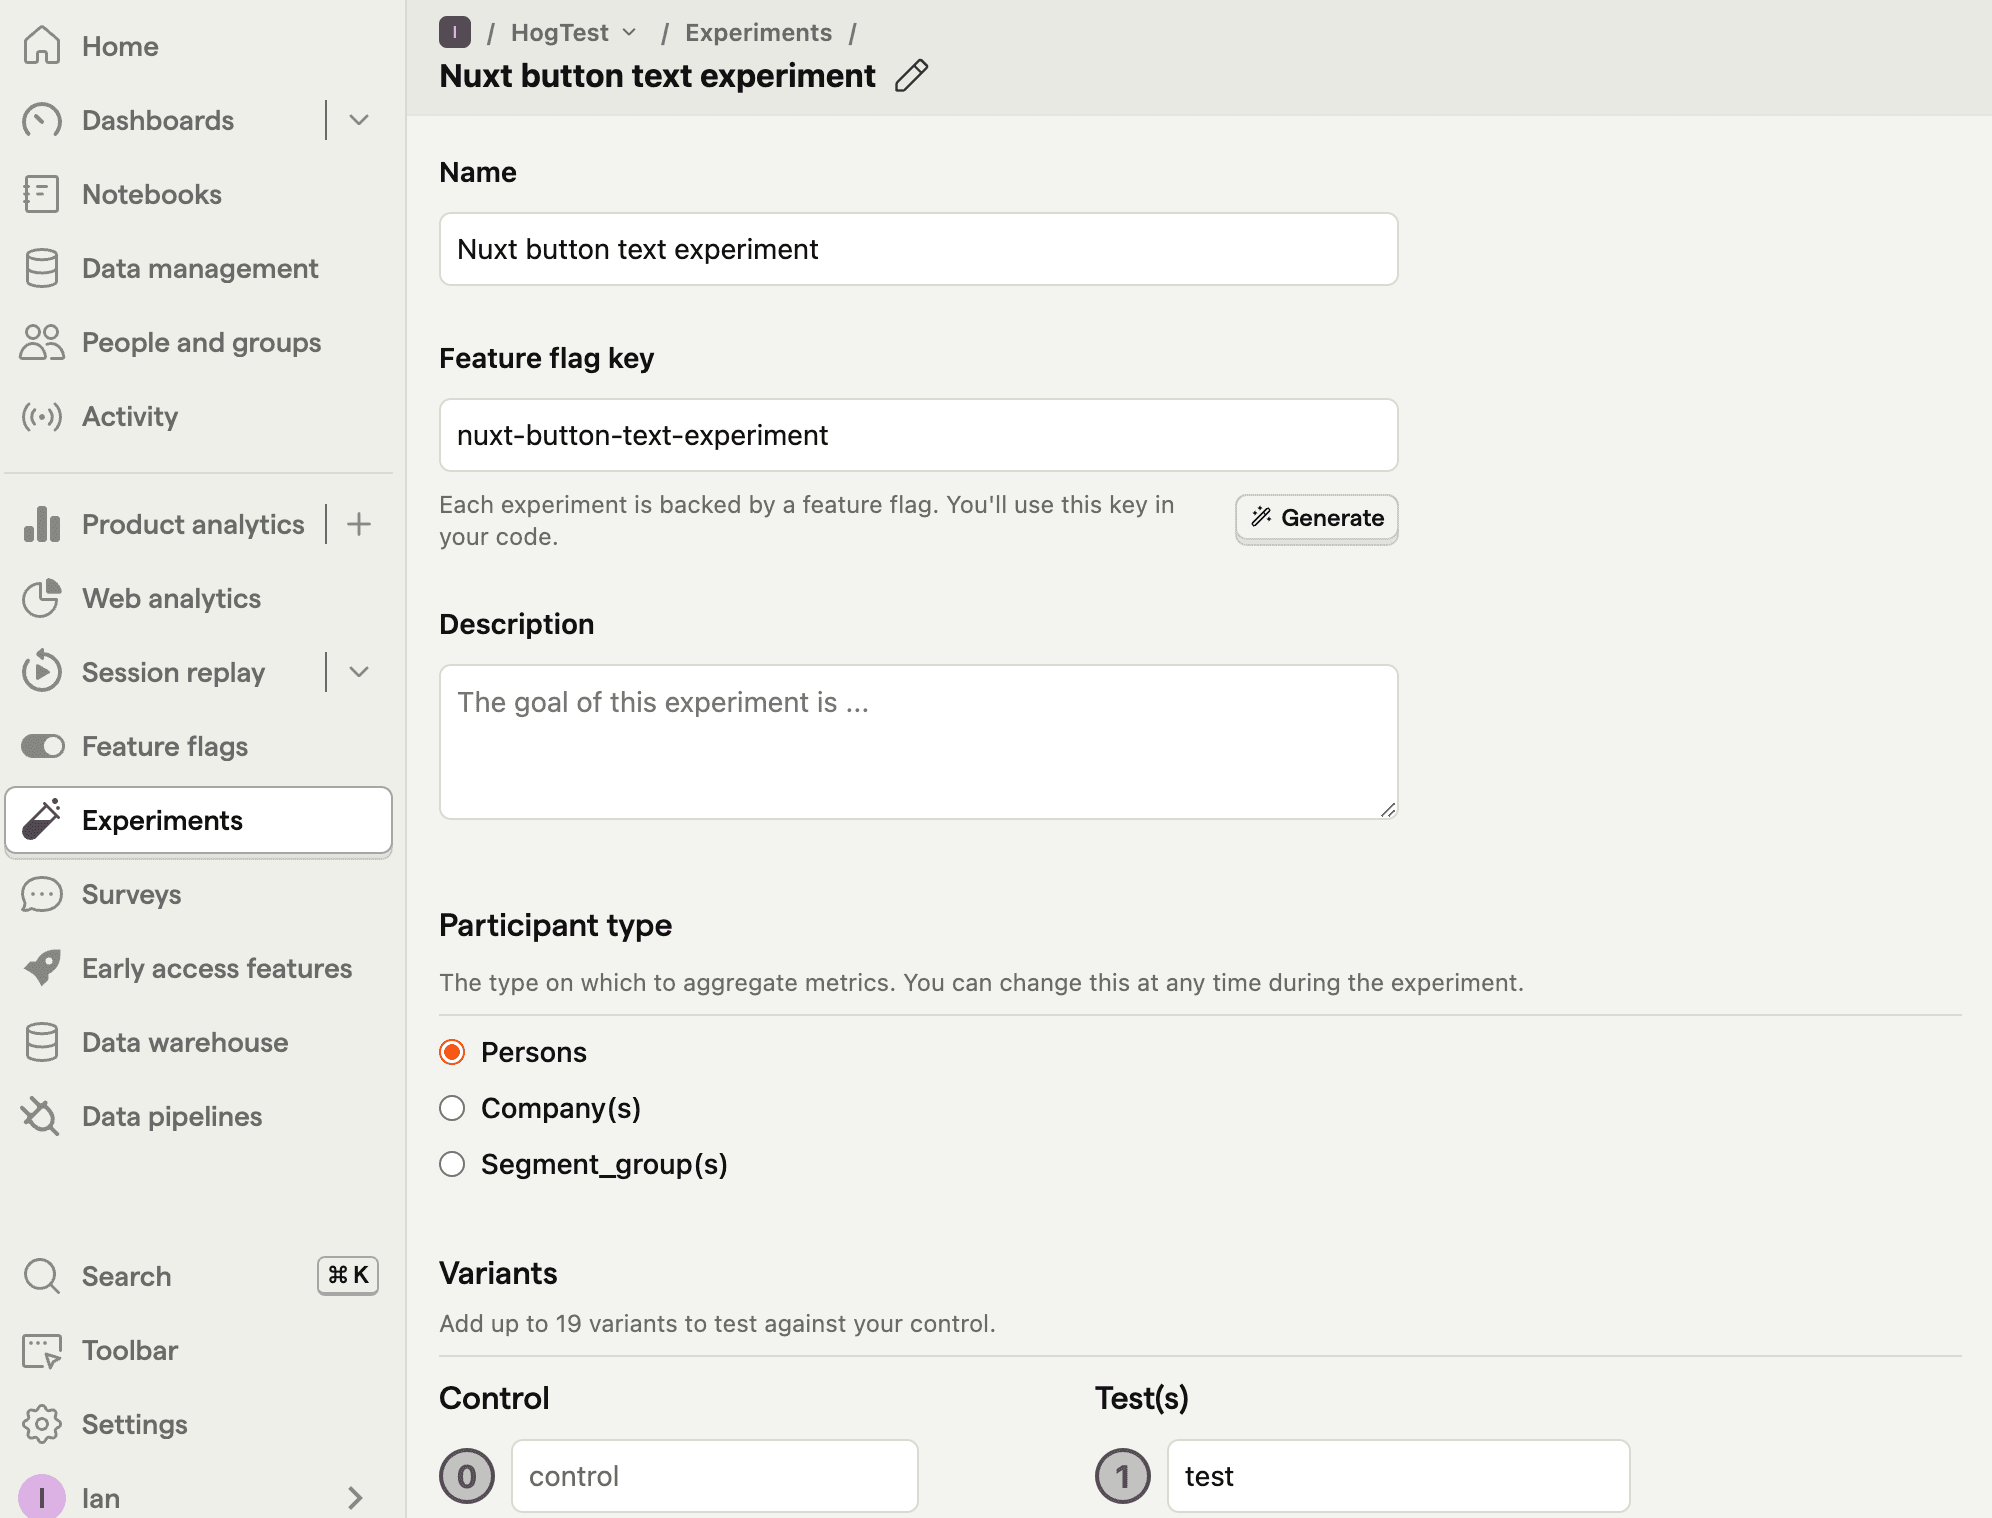
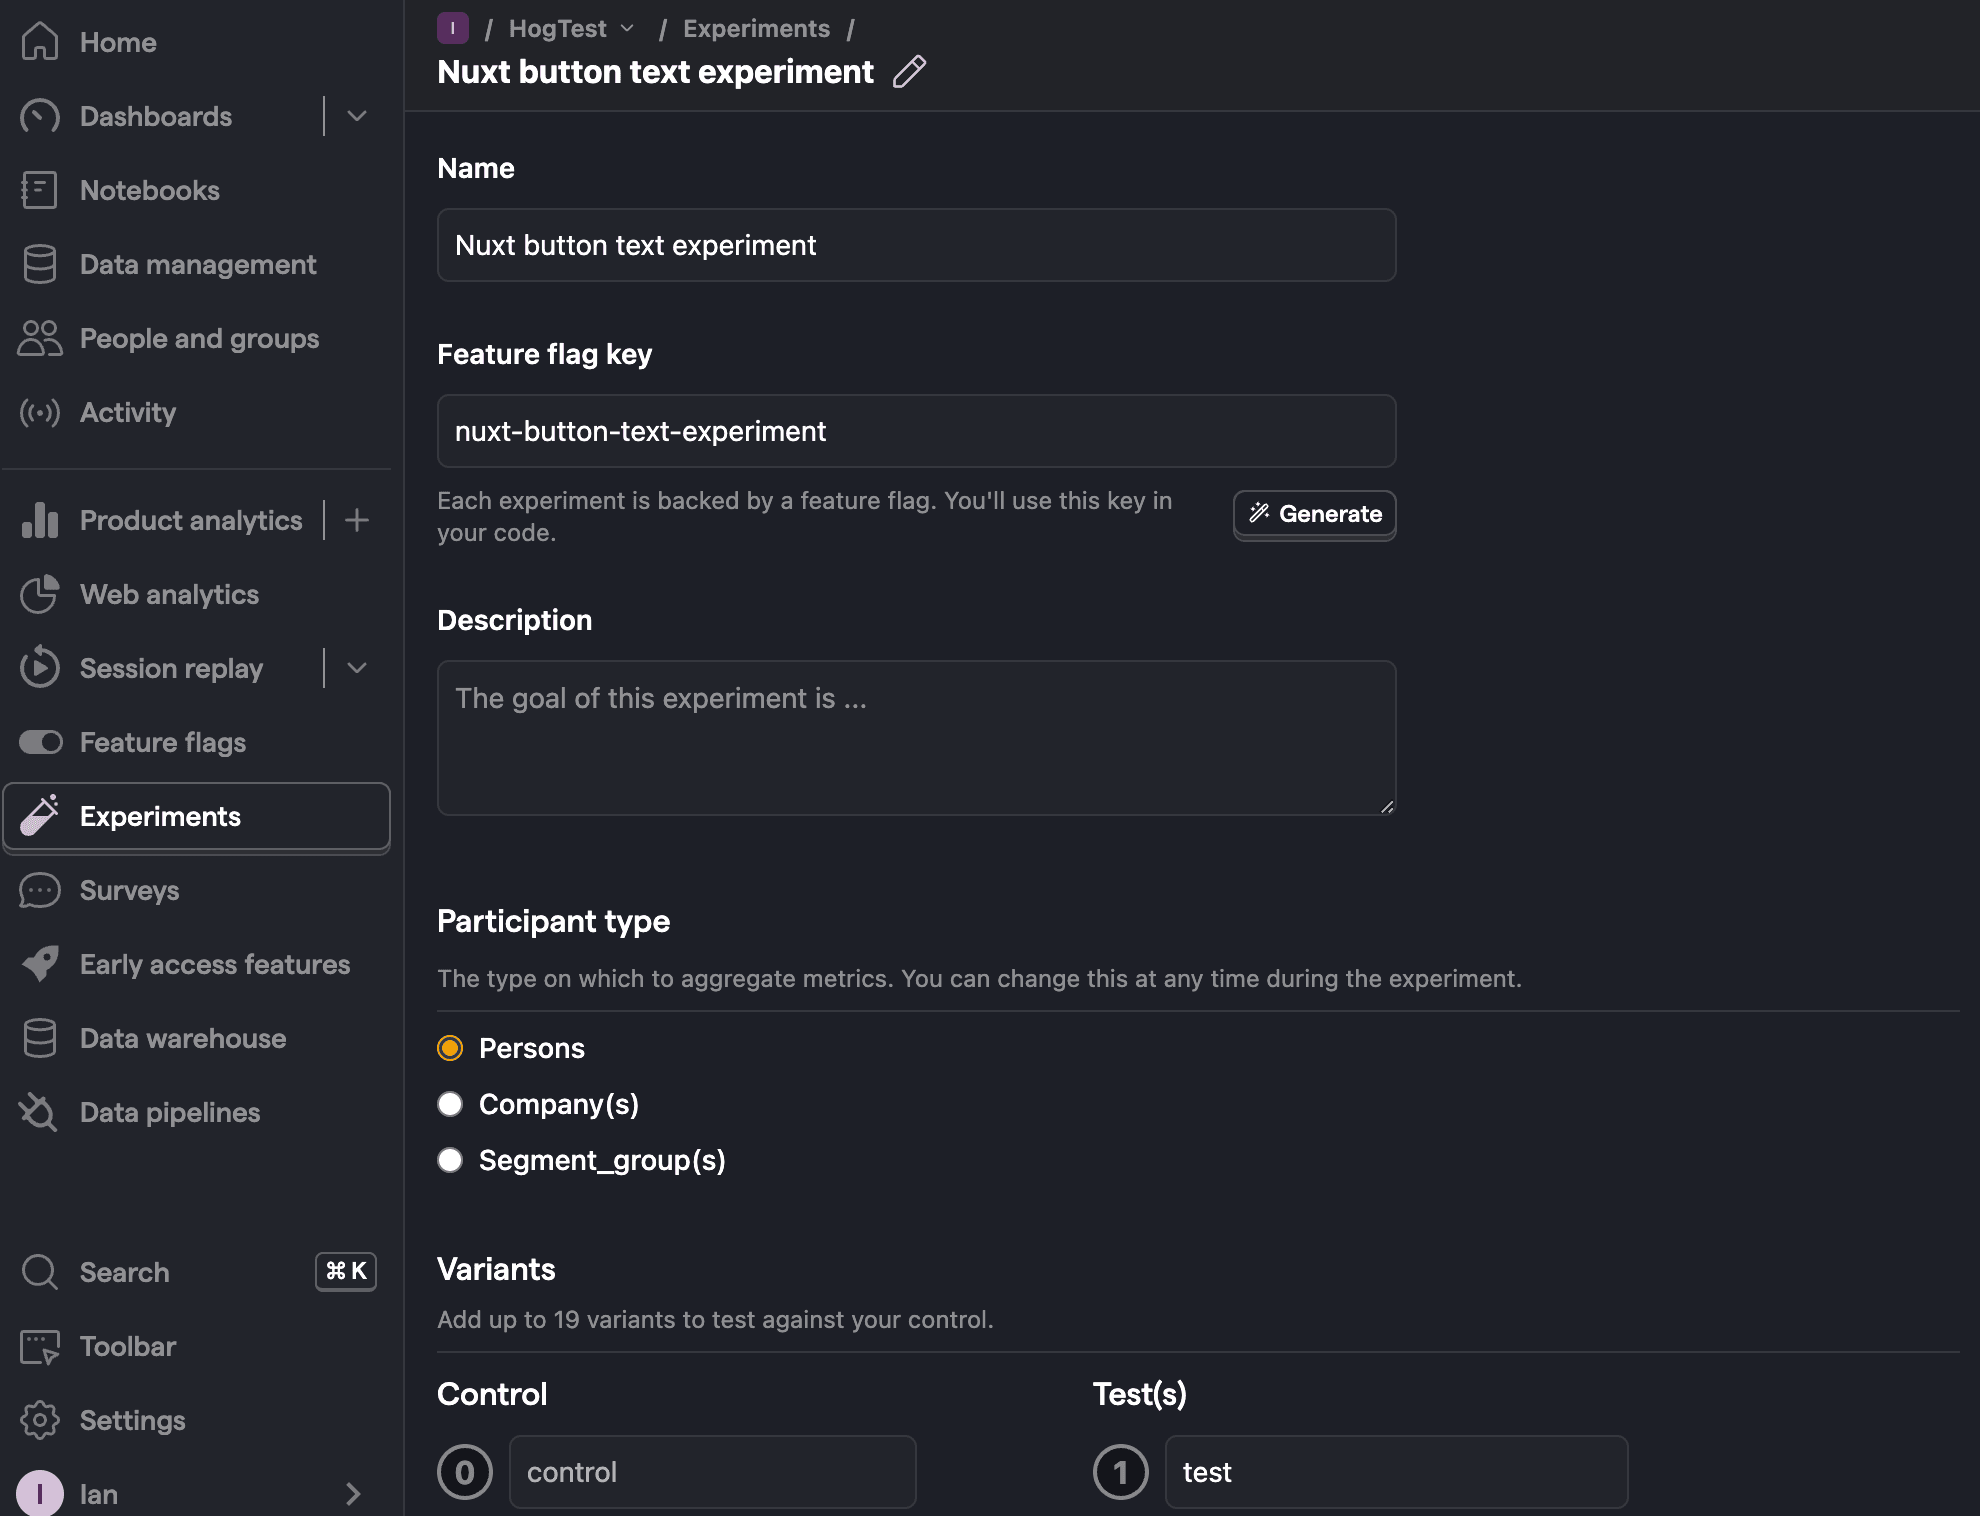
Go to the Experiments tab in PostHog and click "New experiment". Add the following details to your experiment:
- Name it "Nuxt button text experiment".
- Set "Feature flag key" to
nuxt-button-text-experiment. - Use the default values for all other fields.
- Click Save as draft.


Once created, set the primary metric to a trend of home_button_clicked and then click Launch.
Implementing the A/B test code
When it comes to implementing our experiment code, there are two options:
- Client-side rendering in
app.vue. - Server-side rendering in
app.vueusingposthog-node.
We'll show you how to implement both options.
Client-side rendering
To render experiment from the client, we use the posthog.client.js plugin we created earlier to fetch the experiment feature flag when the component is mounted.
Update your code in app.vue to the following:
Now if you refresh your app, you should see the button text updated to either Control variant or Test variant.
You can also test either variant by adding an override in posthog.client.js:
With this, you’re ready to launch your experiment, but make sure to remove your override!
Server-side rendering
Notice that when you refresh the page, the button text flickers between No variant and Control/Test variant. This is because it takes time for PostHog to load and make the feature flag request.
Server-side rendering is a way to avoid this. This fetches the feature flag before the page loads on the client.
To set this up, we must install and use PostHog’s Node library (because we are making server-side requests).
Then, we use the PostHog Node library to fetch the feature flag using useAsyncData in app.vue:
Now, when you refresh the page, the button text is already set when the page loads.
Note: This only works on subsequent visits to your app where the PostHog cookie is set. Using this method still requires waiting for PostHog and feature flags to load on the first visit.
The solution to this is to
identifyyour users using a distinct ID which is not cookie-based.
Further reading

Subscribe to our newsletter
Product for Engineers
Read by 45,000+ founders and builders.
We'll share your email with Substack
Questions? Ask Max AI.
It's easier than reading through 591 docs articles.
