How to set up analytics in Vue
Jan 18, 2024
Product analytics enable you to gather and analyze data about how users interact with your Vue.js app. To show you how to set up analytics, in this tutorial we create a basic Vue app, add PostHog, and use it to capture pageviews and custom events.
Creating a Vue app
To demonstrate the basics of PostHog analytics, we'll create a simple Vue 3 app with two pages and a link to navigate between them.
First, ensure Node.js is installed (version 18.0 or newer). Then install @vue/cli and create a new Vue app:
Make sure to select [Vue 3] babel, eslint as the Vue version.
Adding pages
Next, create two new files HomePage.vue and AboutPage.vue in src/components.
In HomePage.vue, add the following the code:
In AboutPage.vue, add the following the code:
Next we set up the routing. First install Vue Router in your project:
In your src directory, create a new folder router and then a new file index.js:
In router/index.js, import the components and define the routes:
Then, update your App.vue to use the router-view. Replace the contents of this file with:
Finally, set up main.js to use the router:
The basic setup is now complete. Run npm run serve to see your app.

Adding PostHog
This tutorial shows how to integrate PostHog with
Vue 3. If you're usingVue 2, see our Vue docs for how to integrate PostHog.
With our app set up, it’s time to install and set up PostHog. If you don't have a PostHog instance, you can sign up for free.
First install posthog-js.
Create a new plugin by creating a new folder in your base directory called plugins and then a new file posthog.js:
Add the following code to your posthog.js file:
Replace <ph_project_api_key> and <ph_client_api_host> with your your PostHog API key and host. You can find these in your project settings.
Finally, activate your plugin in main.js:
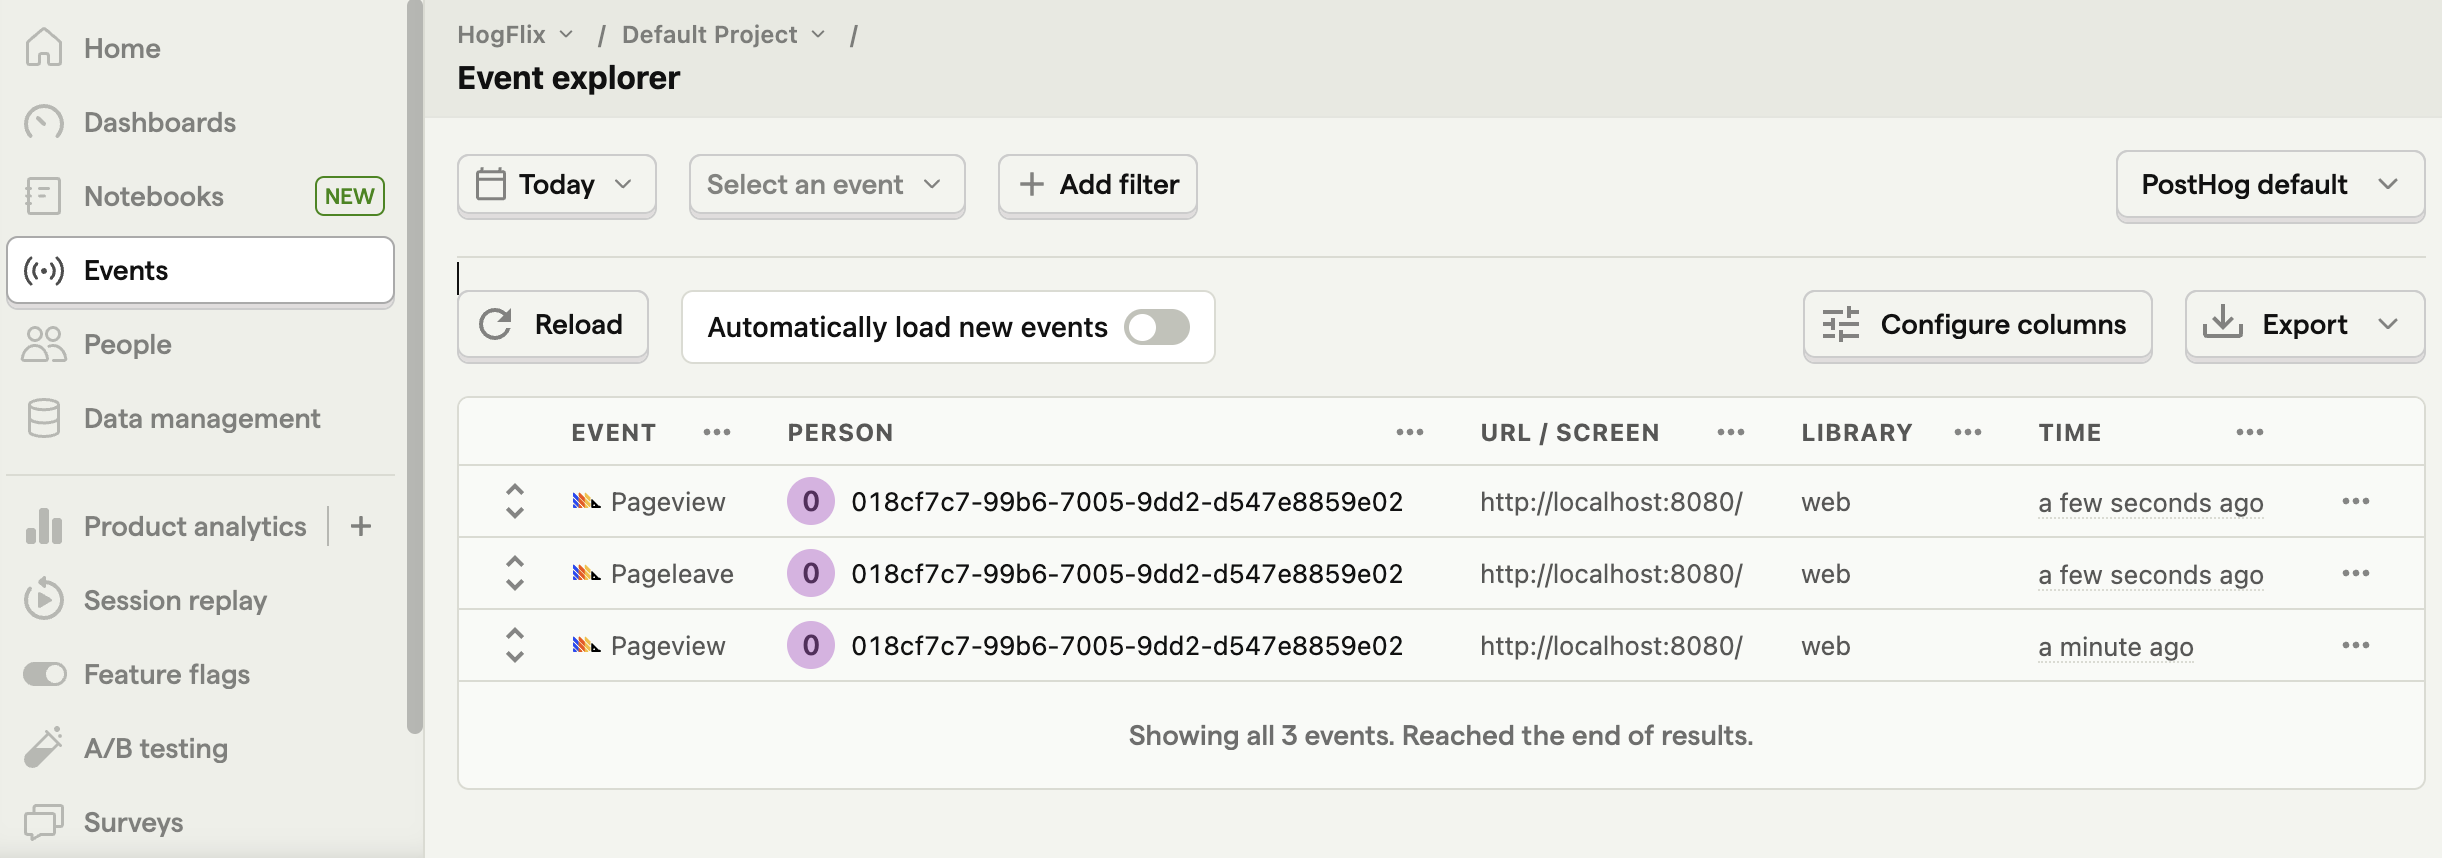
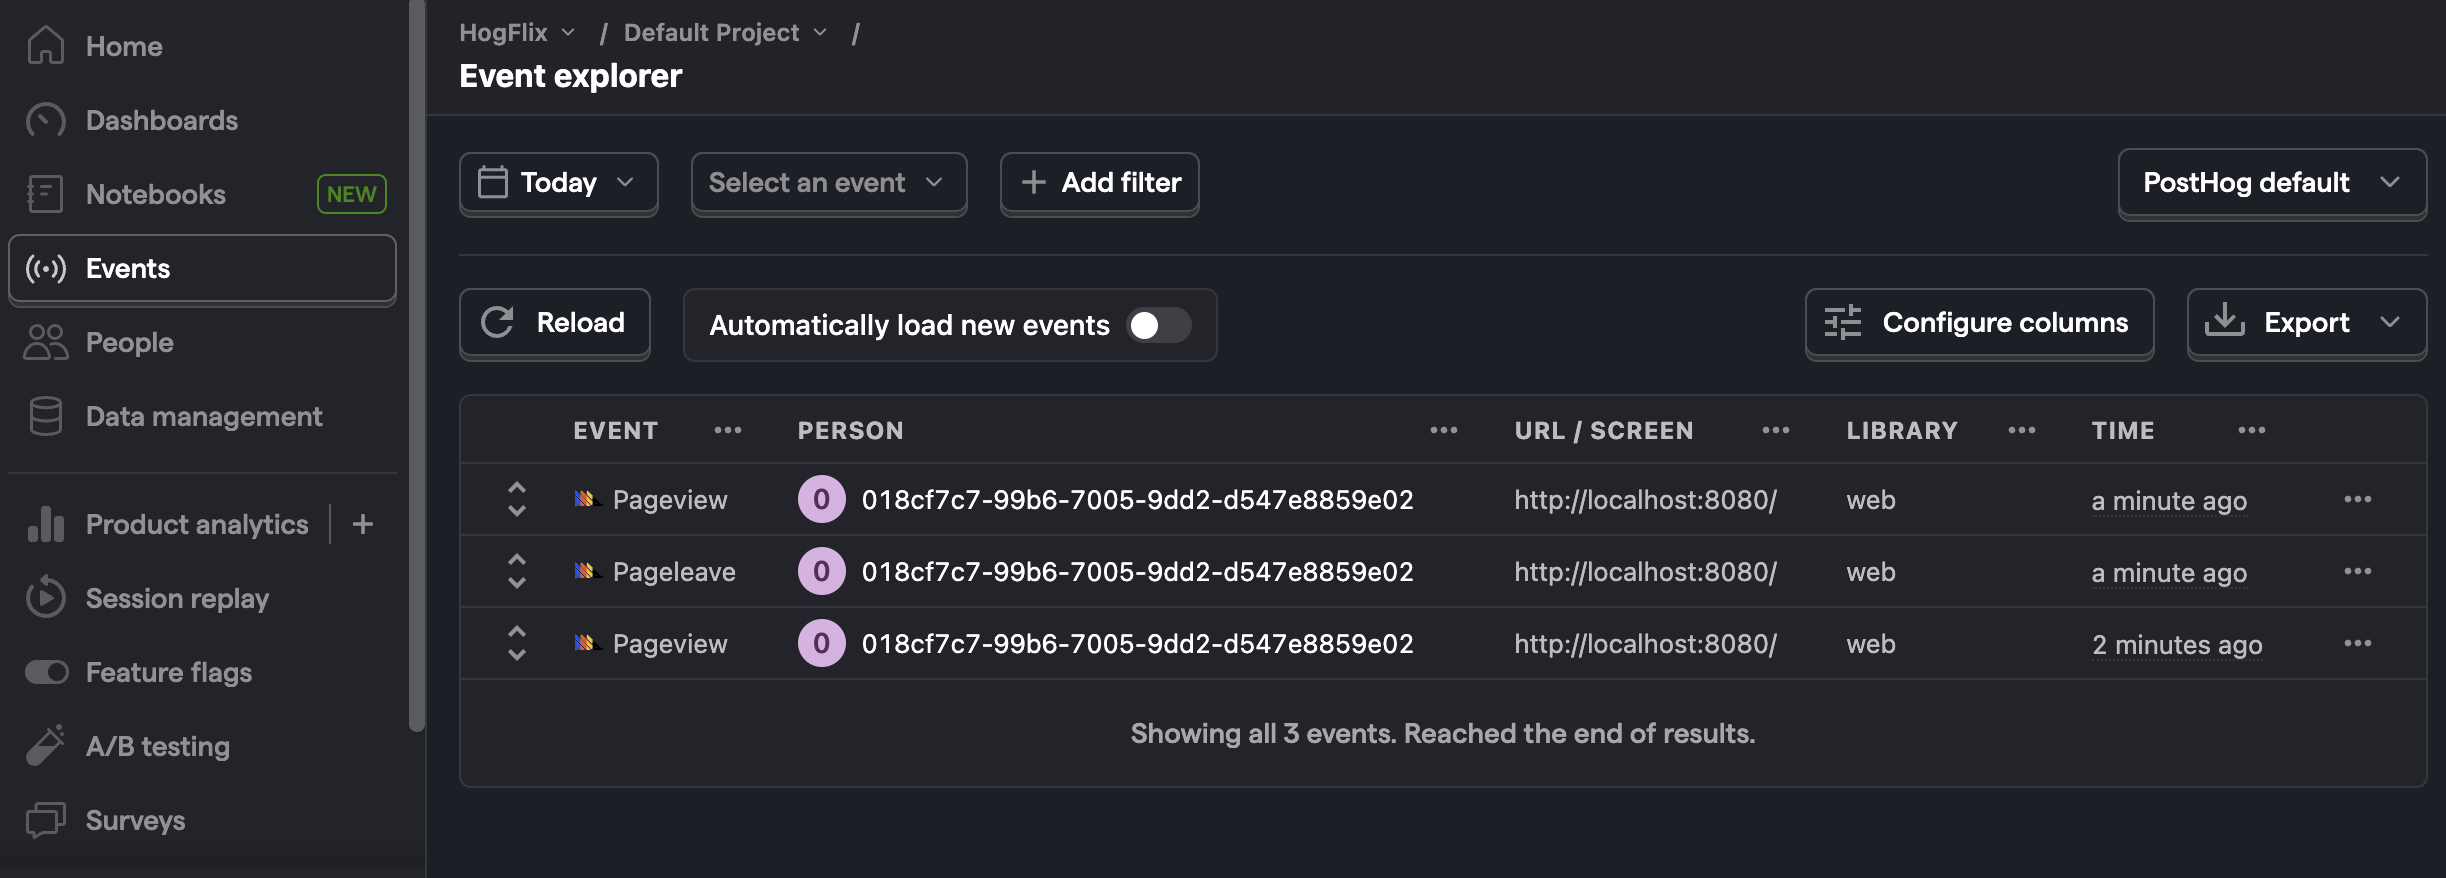
Once you’ve done this, reload your app and click the buttons a few times. You should see events appearing in the PostHog events explorer.


Capturing pageviews
You might notice that moving between pages only captures a single pageview event. This is because PostHog only captures pageview events when a page load is fired. Since Vue creates a single-page app, this only happens once, and the Vue router handles subsequent page changes.
If we want to capture every route change, we must write code to capture pageviews that integrates with the router.
In main.js, set up PostHog to capture pageviews in the router.afterEach function. Additionally, you can use nextTick so that the capture event fires only after the page is mounted.
Now, every time a user moves between pages, PostHog captures a $pageview event, not just the first page load.
Lastly, go back to plugins/posthog.js and make sure to set capture_pageview in the PostHog initialization config to false. This turns off autocaptured pageviews and ensures you won’t double-capture pageviews on the first load.
Capturing pageleaves (optional)
Note that once you disable automatic $pageview captures when calling posthog.init you'll be disabling automatic $pageleave capture as well. If you want to continue capturing $pageleaves automatically, you can re-enable it.
Capturing custom events
Beyond pageviews, there might be more events you want to capture. To do this, you can capture custom events with PostHog.
To showcase this, update the code in HomePage.vue with a button and captureCustomEvent method that uses PostHog to capture a home_button_clicked event:
Now when you click the button, PostHog captures the custom home_button_clicked event. Notice that we also added a property user_name to the event. This is helpful for filtering events in PostHog.
Further reading

Subscribe to our newsletter
Product for Engineers
Read by 45,000+ founders and builders.
We'll share your email with Substack
Questions? Ask Max AI.
It's easier than reading through 591 docs articles.
